Santa Clara Garage Door Repair: What a Pro’s Truck Reveals Before the Work Even Starts
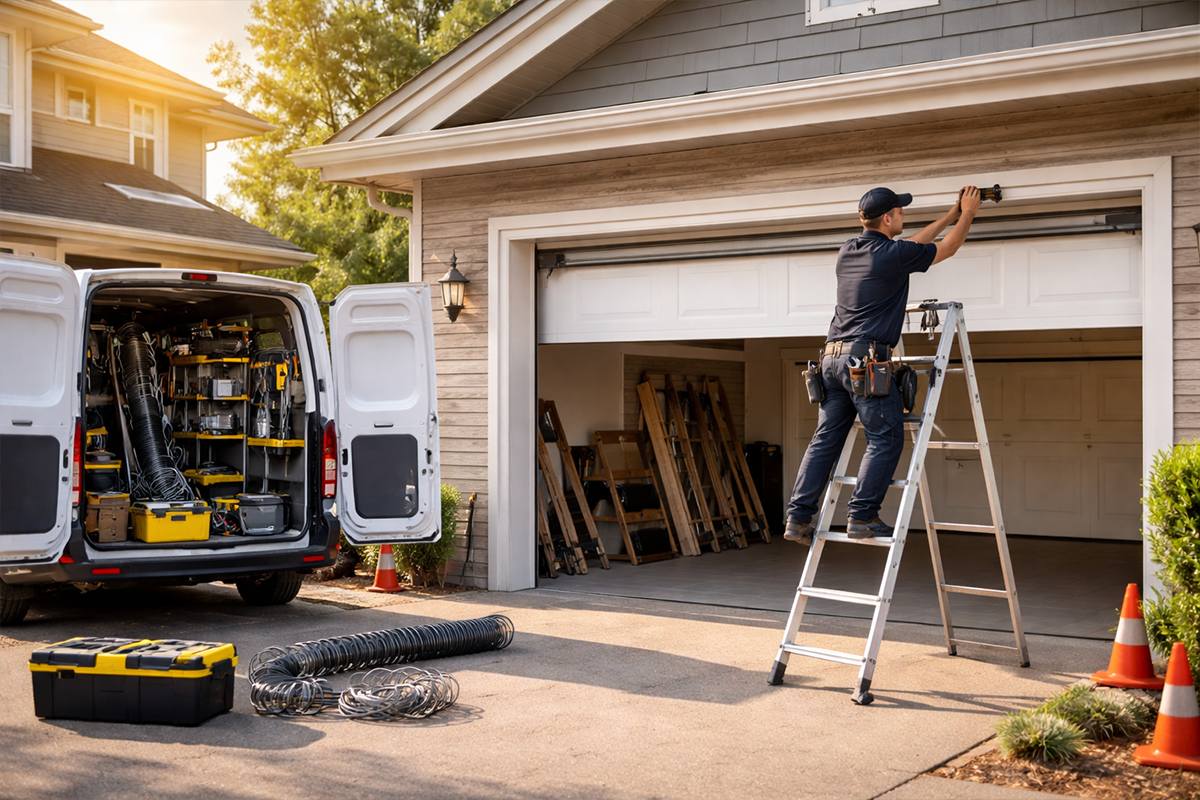
Pull up to the curb on any service call and the truck tells you almost everything. When I arrive at a home needing santa clara garage door repair, I can usually predict the professionalism of competing quotes a homeowner has received just by asking what tools the other technician carried in — because an underprepared tech shows up with a wrench and a prayer, while a seasoned pro rolls up with a mobile workshop that covers every scenario a 16-by-7-foot steel panel can throw at them.
If you’re researching ahead of a repair call — not panicking at 7 a.m. with a car trapped inside — this guide is for you. Learning to read a technician’s equipment is one of the most reliable filters you have as a homeowner.
The Diagnostic Kit: Tools That Read a Door’s Story
Diagnosis is where cheap techs lose money and good ones save it. A prepared technician carries a digital multimeter for testing power supply continuity to the opener, a tension gauge calibrated specifically for torsion and extension springs, and a laser level for checking horizontal and vertical track alignment.
I’ve pulled my laser level out on dozens of calls that were initially reported as “the door is loud.” Nine times out of ten, the track has drifted a quarter inch out of plumb — invisible to the naked eye, audible to anyone in the house. Without that tool, a tech is guessing.
A good diagnostic kit also includes a stethoscope-style mechanic’s ear amplifier. It sounds theatrical, but pressing it against a bearing plate while the door cycles tells you instantly whether you’re hearing metal-on-metal wear in the bearing itself or vibration traveling in from the opener rail. The distinction changes the repair bill by $150 or more.
Repair Gear: What Separates a Patch Job From a Proper Fix
Once the diagnosis is confirmed, the repair tools come out — and this is where you spot the difference between someone who fixes doors and someone who services them.
A torsion spring winding bar set is non-negotiable. These are 18-inch steel bars that insert into the winding cone to safely load or release spring tension. I cannot overstate how dangerous improvised substitutes are: I’ve seen homeowners hospitalized using screwdrivers in place of winding bars. A legitimate tech carries two matched bars and knows never to let go mid-wind.
You’ll also see a cable drum alignment tool in a well-stocked truck — a simple but precise jig that ensures the lift cable seats evenly in the drum groove. Skip this step and the cable frays asymmetrically, leading to another call within six months. Proper repair gear includes cable crimping tools as well, because looped-and-knotted cables are a liability waiting to happen.
Replacement Inventory: Why a Stocked Truck Matters More Than You Think
Here’s a scheduling reality I share with every customer: a tech who has to “order the part and come back” is adding days to your wait and, often, a second trip charge to your invoice.
A truck stocked for Santa Clara’s housing mix — which leans heavily toward attached two-car garages on homes built between 1975 and 2005 — should carry torsion springs in the five most common wire gauges and door weights (typically 90 lb to 200 lb range), a selection of nylon and steel rollers in both 10-ball and 13-ball configurations, and at minimum two weather seal profiles for bottom and side gaps.
Roller replacement is one of the most underrated tune-up items I recommend. Swapping worn 10-ball steel rollers for 13-ball nylon ones reduces operational noise by a measurable margin — homeowners consistently report the door sounds “half as loud” after the upgrade. That’s a same-day fix when the tech’s truck is properly stocked.
Specialty Equipment: The Stuff That Signals Serious Expertise
Beyond the basics, a few specialty items separate a generalist handyman from a true garage door professional.
An opener load-test device — essentially a calibrated force gauge that measures how many pounds of resistance the opener exerts before auto-reversing — is required for safe door operation under current UL 325 safety standards. Every opener should be tested after any spring or cable service, because spring tension changes affect the opener’s perceived load. I’ve tested doors after “repairs” by other companies where the auto-reverse force was nearly double the safe threshold. That’s a code violation and a genuine injury risk.
For smart opener diagnostics, a Wi-Fi signal strength meter helps identify whether connectivity drop-outs are a firmware issue or simply a placement problem. For customers dealing with intermittent app failures, this narrows a 45-minute troubleshooting session down to five minutes. If opener electronics are the core issue, the team at WeDo GarageDoor provides a dedicated garage door opener repair service in Santa Clara that covers both legacy systems and modern smart-drive units — worth bookmarking if your opener is acting up independently of the door mechanism itself.
How to Vet a Technician Before They Touch Your Door
You don’t need to memorize every tool on this list. What you do need is a short vetting routine before you approve any work.
Ask the technician to walk you through the diagnostic step they just completed and which tool confirmed the finding. A prepared pro answers without hesitation. Ask whether the replacement part is on the truck right now or needs to be ordered — a stocked truck should have it. Finally, request a written itemized estimate before any work begins; legitimate repair companies provide this without being asked.
In my experience, the homeowners who do this five-minute vetting process never end up with inflated invoices or repeat failures within the warranty window. The tools on a truck aren’t just equipment — they’re a technician’s professional résumé, sitting in plain sight before a single bolt is turned.